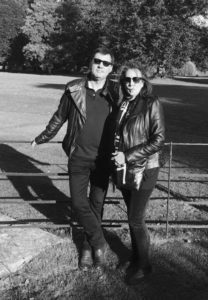
A few weeks ago, I was in London with my traveling mate, Denise Costello. We rented a flat in the King’s Road and settled in for a nice, long stay, our agenda pretty much wide open. Oh, we had things on our wish list, but they were arranged more as a list of suggestions than an actual itinerary. Except for Waterloo. I felt the need to revisit the Battlefield as it had been seven years since my last visit. I asked Denise if she’d be up for a jaunt to the Continent and it turns out she was. She’s pretty much up for anything, which is why she’s one of my “go to” travel companions.
Another of my favourite travel pals is Ian Fletcher, author of Galloping at Everything, in addition to other titles about Waterloo and the Peninsula and Napoleonic Wars. He’s also one of the UK’s most well respected battlefield guides. It took a lot of convincing, but Ian eventually agreed to take us to Waterloo and show us the highlights. To give you an idea of just how difficult it was for me to convince him to accompany us, I share with you the conversation we had:
Me: Will you take us to Waterloo for three nights in June?
Ian: Sure.
So Denise and I tatted up and were enclosed in a car with Ian, inside of a metal container, being transported beneath the Channel by speeding train before we knew what hit us.

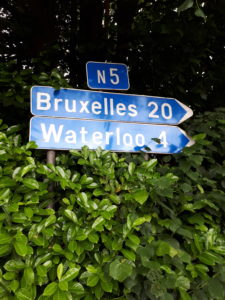
Upon arrival in Calais, we headed south to Brussels and motored through towards Waterloo, chattering all the while about the Battle, the generals and Wellington. As one does.
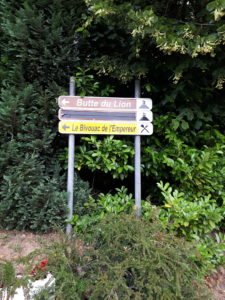
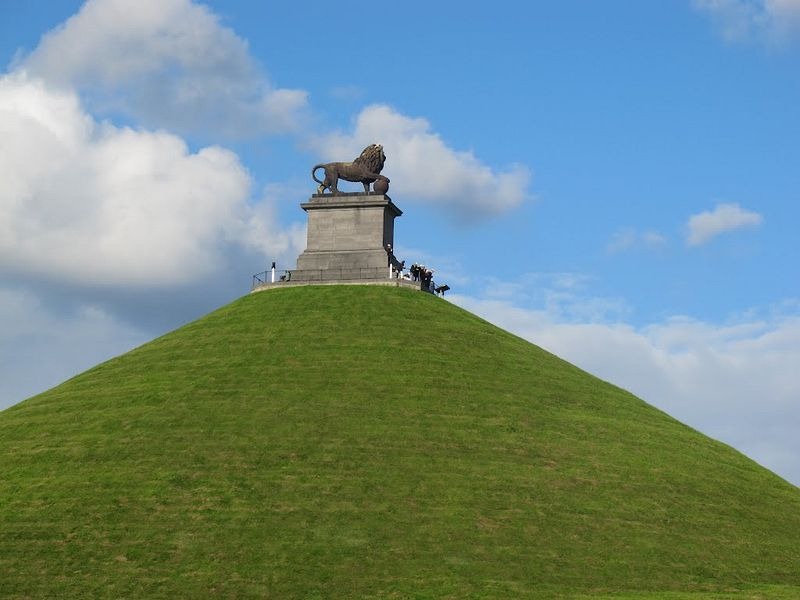
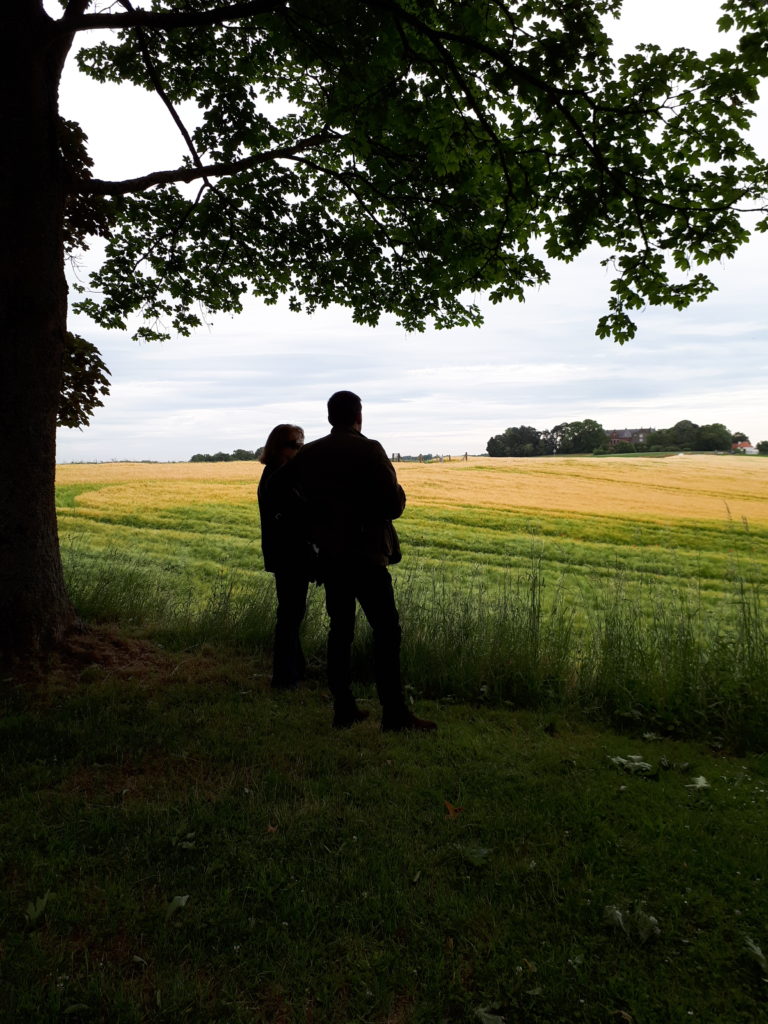
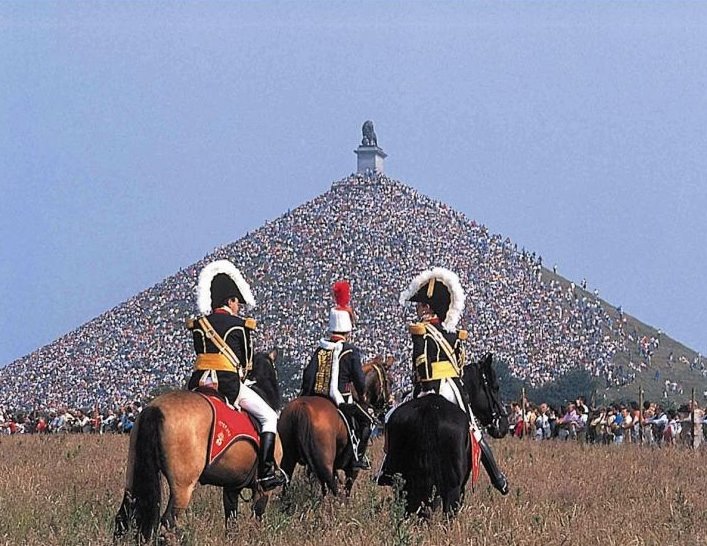
The Lion’s Mound gets me every time. I’m aware that Wellington, upon seeing it for the first time, was said to have remarked, “They’ve ruined my battlefield.”
I do get it, but for me, the first sight of the Mound when I arrive at Waterloo fills my head with all the things I associate with the Battle: Freddy Pakenham, the Scots Greys, Lady Capel, Creevey, the Duchess of Richmond, amber waves of grain, Alexander Gordon, Henry Paget, Waterloo teeth, Copenhagen, the state of the field after the Battle, etc., etc. Images, words, people swirl inside my head and I’m overwhelmed to be standing on this ground. 
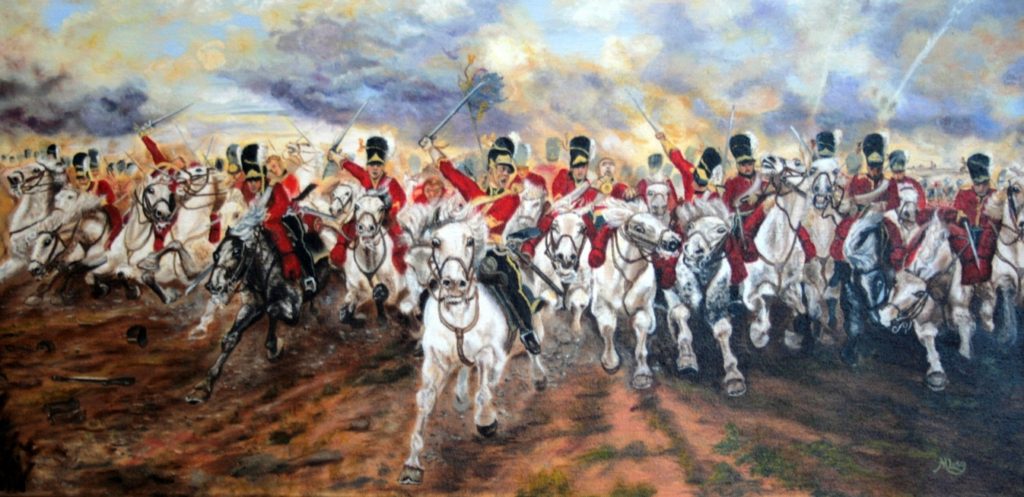
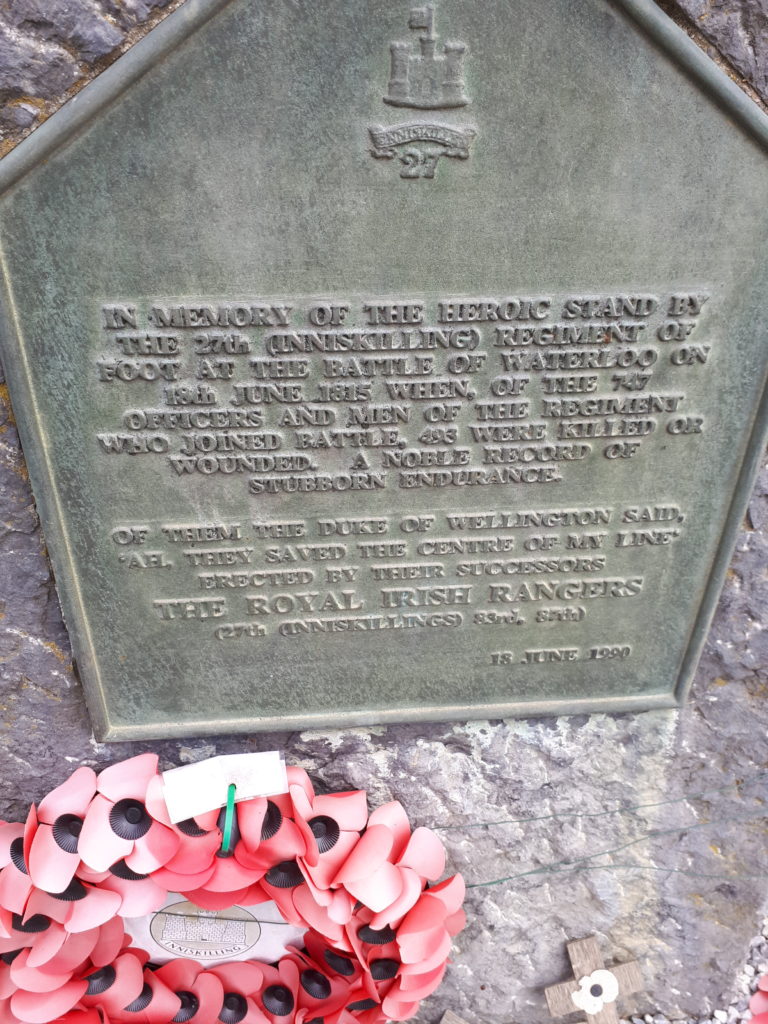
As we crossed over the road to the portion of the Battlefield that had been Wellington’s left flank, Ian described the events that unfolded on the day in 1815, ultimately leading the the cavalry charge of the Royal Scots Greys. As Ian isn’t to hand as I write this, I’ll use Wikipedia to describe those events:
“The Scots Greys, which had been reduced in size because of the end of the Peninsular War, were expanded. This time, there would be 10 troops of cavalry, a total of 946 officers and men, the largest the regiment had ever been until that time. Six of the ten troops were sent to the continent, under the command of Lieutenant-Colonel James Inglis Hamilton, to join the army forming under the command of the Duke of Wellington. The Scots Greys, upon arrival in Ghent, were brigaded under the command of Major-General Ponsonby in the Union Brigade, with Royal Dragoons and the Inniskillings Dragoons.
“The Scots Greys, with the rest of the Union Brigade, missed the Battle of Quatre Bras despite a long day of hard riding. As the French fell back, the Scots Greys and the rest of the Union Brigade arrived at the end of their 50-mile ride.
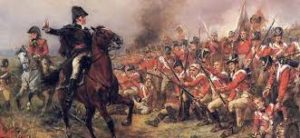
“On the morning of 18 June 1815, the Scots Greys found themselves in the third line of Wellington’s army, on the left flank. As the fights around La Haye Sainte and Hougoumont developed, Wellington’s cavalry commander, the Earl of Uxbridge, held the cavalry back. However, with the French infantry advancing and threatening to break the British centre. Uxbridge ordered the Household Brigade and the Union Brigades to attack the French infantry of D’Erlon’s Corps. The Scots Greys were initially ordered to remain in reserve as the other two brigades attacked.
“As the rest of the British heavy cavalry advanced against the French infantry, just after 1:30 pm, Lieutenant-Colonel Hamilton witnessed Pack’s brigade beginning to crumble, and the 92nd Highlanders falling back in disorder. On his initiative, Hamilton ordered his regiment forward at the walk. Because the ground was broken and uneven, thanks to the mud, crops, and the men of 92nd, the Scots Greys remained at the walk until they had passed through the Gordons. The arrival of the Scots Greys helped to rally the Gordons, who turned to attack the French. Even without attacking at a full gallop, the weight of the Scots Greys charge proved to be irresistible for the French column pressing Pack’s Brigade. As Captain Duthilt, who was present with de Marcognet’s 3rd Division, wrote of the Scots Greys charge:
“Just as I was pushing one of our men back into the ranks I saw him fall at my feet from a sabre slash. I turned round instantly – to see English cavalry forcing their way into our midst and hacking us to pieces. Just as it is difficult, if not impossible, for the best cavalry to break into infantry who are formed into squares and who defend themselves with coolness and daring, so it is true that once the ranks have been penetrated, then resistance is useless and nothing remains for the cavalry to do but to slaughter at almost no risk to themselves. This what happened, in vain our poor fellows stood up and stretched out their arms; they could not reach far enough to bayonet these cavalrymen mounted on powerful horses, and the few shots fired in chaotic melee were just as fatal to our own men as to the English. And so we found ourselves defenceless against a relentless enemy who, in the intoxication of battle, sabred even our drummers and fifers without mercy.
“A lieutenant of the 92nd Highlanders who was present would later write, “the Scots Greys actually walked over this column.”
“As the Scots Greys waded through the French column, Sergeant Charles Ewart found himself within sight of the eagle of 45e Régiment de Ligne (45th Regiment of the Line). With a chance to capture the eagle, Ewart fought his way towards it, later recounting:
“One made a thrust at my groin – I parried it off and … cut him through the head. one of their Lancers threw his lance at me but missed … by my throwing it off with my sword … I cut him through the chin and upwards through the teeth. Next, I was attacked by a foot soldier, who, after firing at me charged me with his bayonet, but … I parried it and cut him down through the head.
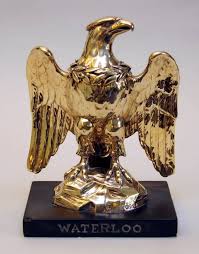
“With the eagle captured, Sergeant Ewart was ordered to take the trophy off, denying the French troops a chance to recapture their battle standard. In recognition of his feat, he was promoted from sergeant to ensign.
“Having defeated the column and captured one of its battle standards, the Scots Greys were now disorganised. Neither Ponsonby nor Hamilton were able to effectively bring their troopers back under control. Rather than being able to reorganise, the Scots Greys continued their advance gaining speed, eventually galloping, and now aimed at Durutte’s division of infantry. Unlike the disordered column that had been engaged in attacking Pack’s brigade, some of Durutte’s men had time to form square to receive the cavalry charge. The volley of musket fire scythed through the Scots Greys’ ragged line as they swept over and round the French infantry, unable to break them. Colonel Hamilton was last seen during the charge, leading a party of Scots Greys, towards the French artillery. However, in turning to receive the Scots Greys’ charge, Durutte’s infantry exposed themselves to the 1st Royal Dragoons. The Royal Dragoons slashed through them, capturing or routing much of the column.
“Having taken casualties, and still trying to reorder themselves, the Scots Greys and the rest of the Union Brigade found themselves before the main French lines. Their horses were blown, and they were still in disorder without any idea of what their next collective objective was. Some attacked nearby gun batteries of the Grande Battery, dispersing or sabring the gunners. Disorganized and milling about the bottom of the valley between Hougoumont and La Belle Alliance, the Scots Greys and the rest of the British heavy cavalry were taken by surprise by the counter-charge of Milhaud‘s cuirassiers, joined by lancers from Baron Jaquinot’s 1st Cavalry Division.
“As Ponsonby tried to rally his men against the French cuirassers, he was attacked by Jaquinot’s lancers and captured. A nearby party of Scots Greys saw the capture and attempted to rescue their brigade commander. However, the French soldier who had captured Ponsonby executed him and then used his lance to kill three of the Scots Greys who had attempted the rescue. By the time Ponsonby died, the momentum had entirely returned in favour of the French. Milhaud’s and Jaquinot’s cavalrymen drove the Union Brigade from the valley. The French artillery added to the Scots Greys’ misery.
“The remnants of the Scots Greys retreated to the British lines, harried by French cavalry. They eventually reformed on the left, supporting the rest of the line as best they could with carbine fire. In all, the Scots Greys suffered 104 dead and 97 wounded and 228 of the 416 horses. When they were finally reformed, the Scots Greys could only field two weakened squadrons, rather than the three complete ones with which they had begun the day.
“Following the victory of Waterloo, the Scots Greys pursued the defeated French Army until Napoleon’s surrender and final abdication. The Scots Greys would remain on the continent until 1816 as part of the army of occupation under the terms of the peace treaty.

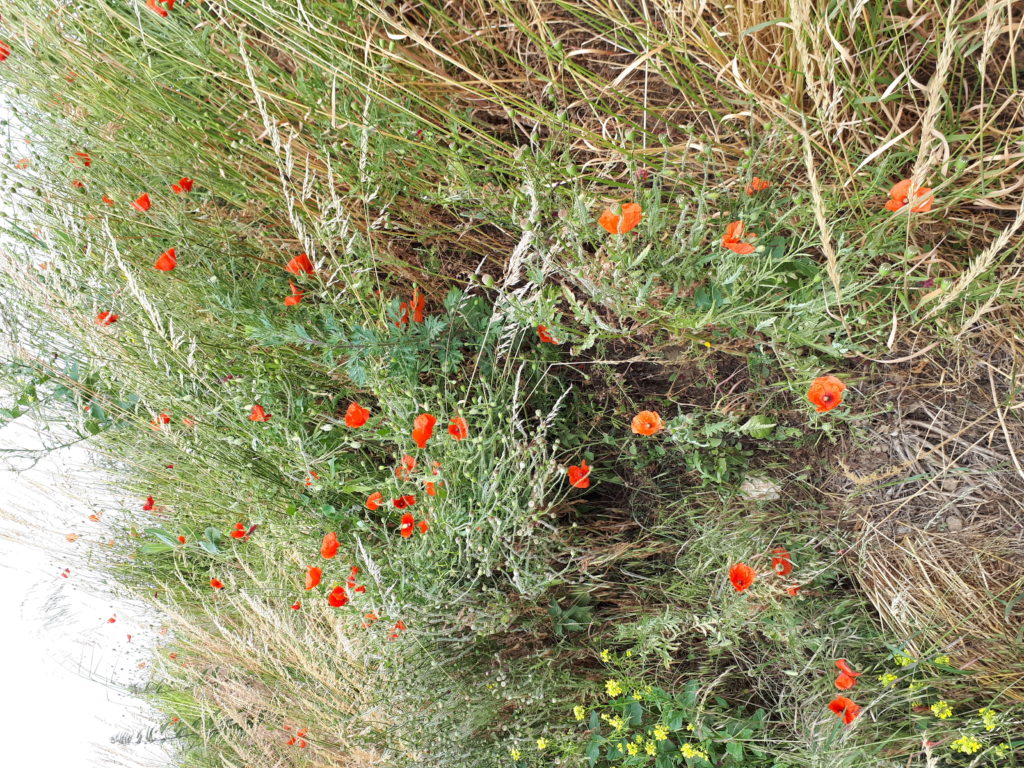
Poppies can be seen growing everywhere upon the field of Waterloo.

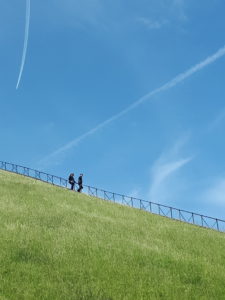
Denise and Ian took a trip up to the top of the Lion’s Mound, while I stayed behind and walked the base. I’d already seen the view from the top during the 2010 Waterloo re-enactment. I was one of hundreds who perched atop the Mound to view the action, except that it had been bucketing down with rain when I was there.
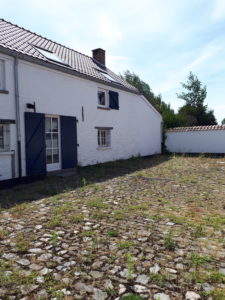
Afterwards, we headed out to the other sites in the area connected to the Battle.
PART TWO COMING SOON!